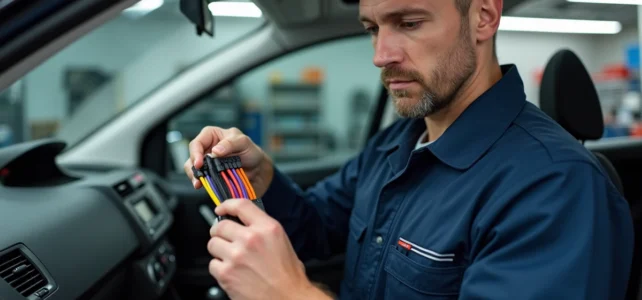
Connecting an Android Auto car radio to a recent Peugeot is not just about matching colored wires. Since the mid-2000s, most Peugeot models use a CAN network controlled by the BSI (intelligent service box). This network manages accessory power, steering wheel controls, and sometimes the antenna signal. Ignoring this network layer risks having no sound, dead steering wheel controls, or a unit that restarts in a loop.
Peugeot CAN Network: Why Wire Color Codes Are No Longer Enough
You may have noticed that in an older vehicle, it was enough to connect the red wire to +12 V after ignition and the yellow to permanent +12 V for the unit to work? In a multiplexed Peugeot, these wires physically exist, but the BSI can cut power if the CAN bus receives no response from the original unit. The vehicle “waits” for a digital dialogue before distributing power.
Without a dedicated CAN-bus adapter for the Peugeot model, the new Android Auto car radio remains silent or behaves erratically. The adapter simulates the response that the BSI expects, unlocks accessory power, and translates the steering wheel control signals into a format understandable by the aftermarket unit.
To clearly visualize each wire and its function before touching the harness, consulting the wiring diagram for Peugeot car radio color codes helps identify the specifics related to the CAN network and avoid wiring errors.
Connectors and Sub-connections of an Android Auto Car Radio on Peugeot
A modern Android Auto car radio does not connect with just two wires and a plug. The installation involves a stack of sub-connections that generic guides rarely detail.
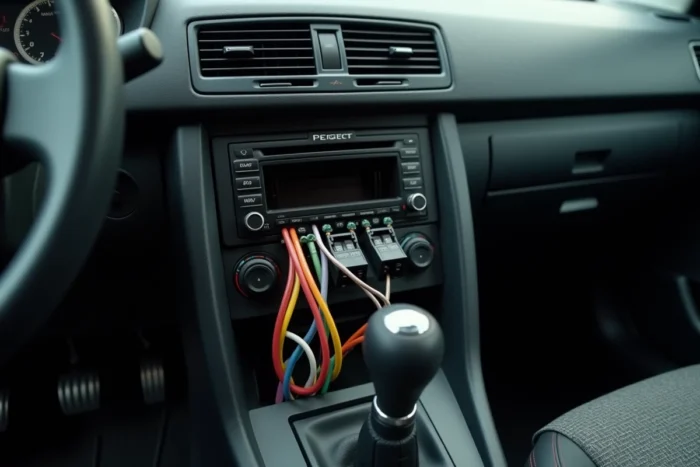
Connections to Identify on the Harness
Here are the connections to plan for during installation:
- ISO power and speaker connector: it includes the red wire (+12 V after ignition), the yellow (+12 V permanent), the black (ground), and pairs of wires for each speaker (gray, white, purple, green, with their striped variants for negative return).
- Radio antenna connector: the original antenna plug must be connected to the adapter provided with the unit, and the ANT wires must power the antenna amplifier; otherwise, FM reception will be degraded.
- USB, GPS, and Wi-Fi connectors: the Android Auto unit often uses an external GPS antenna (small SMA or Fakra connector), a Wi-Fi dongle, and a USB port for connection with the smartphone.
- Reverse camera (RCA) and hands-free microphone: two additional cables to run if you want to fully enjoy the unit’s features.
This list shows that the installation goes far beyond the simple wire color diagram. Each incorrectly connected connector can cause an isolated malfunction without affecting the rest, making diagnosis longer.
Why Keep the Original Harness
Several recent installation guides for Peugeot emphasize one point: never cut the wires of the original harness. The principle is to connect the vehicle plug to the harness provided with the car radio via a plug-and-play ISO adapter. Cutting the wires exposes you to false contacts, complicates future disassembly, and can disrupt the vehicle’s CAN network.
CAN-bus Adapter for Peugeot: Selection Criteria by Model
Not all CAN-bus adapters are created equal. Compatibility depends on the exact model of the vehicle and the year of production. An adapter designed for a Peugeot 308 phase 1 will not necessarily work on a 308 phase 2, even if the plugs look physically similar.
Why this difference? Because the CAN protocol and the version of the BSI vary from generation to generation. The adapter must match both the vehicle and the command format of the chosen Android Auto unit.
Before purchasing, check three elements:
- The exact reference of the vehicle (model, phase, year, engine type), as some adapters distinguish between petrol and diesel versions.
- The brand and model of the Android Auto unit, to confirm the compatibility of the steering wheel control connector.
- The presence of an output for antenna power (ANT wire) on the adapter; otherwise, radio reception will remain poor after installation.
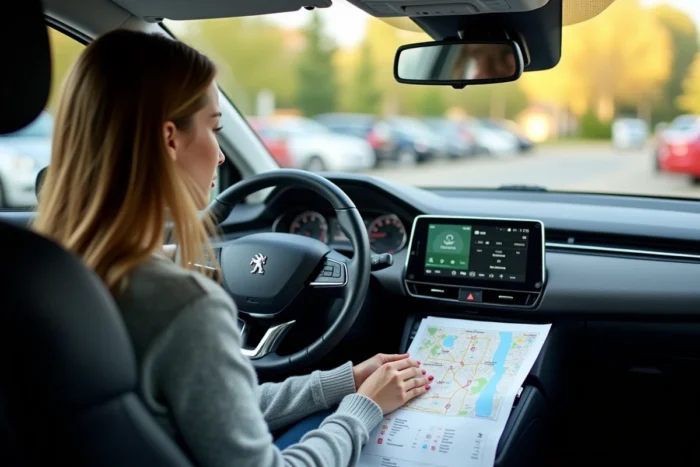
Verification Before Reassembling the Peugeot Dashboard
Reassembling the dashboard without testing everything is the most common mistake. Once the trims are in place, any oversight requires disassembly again.
The verification is done with the unit powered on and the engine idling. First, test each speaker individually by playing an audio source and adjusting the front/rear and left/right balance. A silent speaker often indicates a polarity reversal on the corresponding wire pair.
Next, move on to the steering wheel controls: volume, source change, call pickup. If a button does not respond, the CAN-bus adapter is probably not correctly paired with the unit. Some models require programming via a dedicated app.
Test FM reception, GPS, and the reverse camera before closing up. For the camera, engage reverse and check that the image displays automatically. For the GPS, wait for the unit to lock onto several satellites, confirming that the external GPS antenna is properly connected and positioned (generally under the dashboard, near the windshield).
The Android Auto connection itself is tested last: plug in the smartphone via USB, accept the permissions, and start navigation. If the phone charges but Android Auto does not start, the USB cable is often the culprit. A certified high-quality cable resolves most of these cases.
On a multiplexed Peugeot, a successful car radio connection relies less on reading wire colors than on choosing the right CAN-bus adapter and methodically verifying each sub-connection. Taking the time to test everything with the dashboard open saves hours of additional disassembly.